Saturday, 18 December 2010
Risk Assessment
Thursday, 16 December 2010
Fading two bits of footage together
Here I am going to analyse how I was able to fade two pieces of footage into one another.
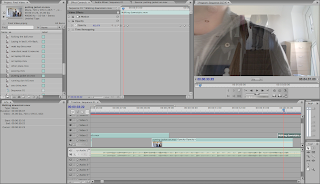
First of all I had to make sure that the bits of footage I wanted to fade in with one another overlapped slightly so that I would be able to make them fade as at the end of each clip the opacity fades allowing the opacity to increase on the clip that comes after it
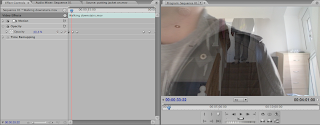
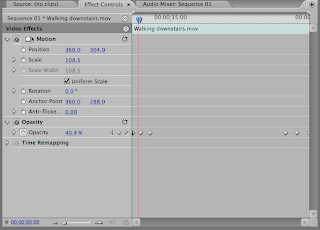
The second step that was required was to open up the opacity option. I then positioned the cursor to where I wanted to change the opacity, i then clicked on the little diamond shape on the opacity option, this allowed me to change the opacity by then clicking on the blue number and changing it, I did this three times evenly across the overlapped bit at the end of the footage. I had to decrease the opacity when fading out and increase the opacity when fading in again. The fading was three diamonds in the overlapped footage 100%, 50% and 0%

First of all I had to make sure that the bits of footage I wanted to fade in with one another overlapped slightly so that I would be able to make them fade as at the end of each clip the opacity fades allowing the opacity to increase on the clip that comes after it


The second step that was required was to open up the opacity option. I then positioned the cursor to where I wanted to change the opacity, i then clicked on the little diamond shape on the opacity option, this allowed me to change the opacity by then clicking on the blue number and changing it, I did this three times evenly across the overlapped bit at the end of the footage. I had to decrease the opacity when fading out and increase the opacity when fading in again. The fading was three diamonds in the overlapped footage 100%, 50% and 0%
Effects used when making the video
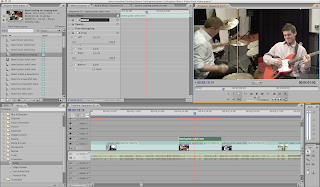 On the left hand side of the page there is an example of how I cropped two bits of film into one image.
First of all I cut down the footage that I wanted to use so that it would fit in the video and then i dragged the next piece of footage on to the row above so it was in line with the other one. I made sure it was in time otherwise one of the bits of video would have run over and would have been out of time with the song.

The next step was to open up the effects, click on the drop down option that was video effects, go down to the transform option click on that drop down option and the crop effect was in there. I then dragged the crop onto both bits of footage so I could adjust both of them.
 Step three involved clicking on the footage on the timeline so that I knew that it was selected, the box next to the film appeared with different options involving how I would want to edit the film, in the end I clicked on crop which dropped down four options, top, bottom, left and right I only needed the left and right options so i opened them up, it opened up a scale from 0.0 - 100.0, I then moved the scale to where I wanted it positioned so that I could get the right position of the film
Subscribe to:
Comments (Atom)

